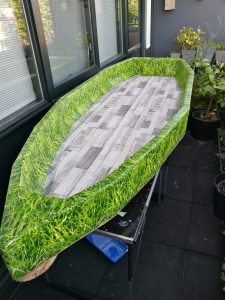
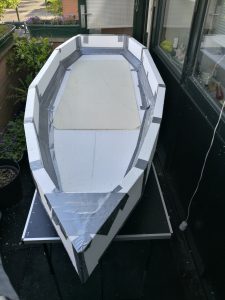
Here are some pictures of the build of Nomadulino v02, a foam kayak (simple styrofoam based), incorporating some of the lessons of Nomadulino v01. Reason to choose for styrofoam over extruded styrofoam was cost (much cheaper). Similarly this version is covered in multiple layers of cloth held in place with D3 PVA glue or with varnish, with no use of fiberglass. This does make for a softer covering, but still strong enough for use. The dimensions of this version ar 240cm long and 78 cm at its widest point. Weight is approx. 15 kg. With the chair installed the boat can easilly be carried with one hand from the car to the waterside.
Stability is as good as with v01. And the self draining scupper valves work very well avoiding the puddling of drip water in the boat over longer time as occurred in v01. Of course I can simply add scupper valves into v01 as well, as installation is simply a matter of drilling a hole through the bottom, and glueing in the tubes with the scupper valves with a bit of excess of epoxy to ensure a fully watertight seal between the hole and the existing covering.
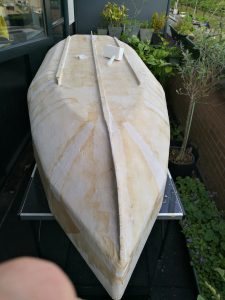
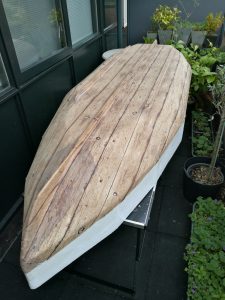
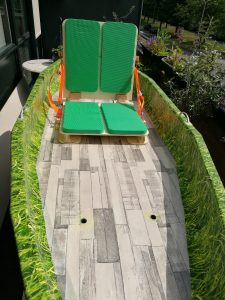
As can be seen this version has three narrow keels. The hope was that this would result in less drag and similar or better directional stability than v01. The results were, however, disappointing. This version is slower (about 3.5 km/hr when paddling normally) and has less directional stability than the first version. Most likely this is due to the fact that the three deeper keels of v01 did act a bit as a trimaran.
Having done some further reading, v03 will likely be a modular catamaran kayak. But still pondering on how to make the pontoons for that moduler ….